Embedded Programming Without the IDE
There are a few things I should disclose before I get into this post:
- I am a lover of all things terminal.
- I am a big
vimenthusiast (although certainly not an expert). - I love embedded development.
- I really don't love programming in IDEs.
Unfortunately, for most of my programming education, I believed that statements 3 and 4 were mutually exclusive. Every embedded project I had worked on required the use of Keil uVision, Code Composer, Eclipse... the usual suspects. There is nothing inherently wrong with any of these programs, and in fact, they significantly lower the barrier to entry for embedded development. They're widely used for a reason!
That said, I was always slightly frustrated when I started a project by clicking through a wizard, selecting "Project Template", and seeing a bunch of mysterious files and directories pop up in my workspace. What did all that stuff do? Why couldn't I see what was going on? What was all this boilerplate code doing in my project, and was all that complexity really necessary? When I would express this frustration to teammates, I would often get replies like, "Well you can just read the datasheet and program all the registers manually if you want. Be my guest!" Teams can be snarky sometimes.
And so, when I began working on FreePulse, I began researching to see if there was a better way. Just before I had given up hope, I came across this wonderful blog post detailing how the author had built a Makefile for a project on the STM32F4 Discovery board. Seeing as I was starting my redesign of FreePulse using the same chip, I decided to jump in and try to drop Eclipse entirely. I'm really pleased with the result, and hopefully this blog post can guide other people who want to develop for embedded platforms independent of an IDE.
I'm going to do a brief overview of make, go through some specifics of how to
use make to perform most of the useful IDE compilation functions, and show
how you can integrate that into a very smooth development workflow using only
vim and the command line. Feel free to skip around if you feel like you've
got a good handle on how make works!
Introducing the Makefile
When starting out any coding project, one of the first things I do is try to
determine the layout of the program in a Makefile. From the people at the
Free Software Foundation:
GNU Make is a tool which controls the generation of executables and other non-source files of a program from the program's source files. 1
make is pretty awesome. While I'm not going to do an exhaustive tutorial on
everything you can do with make (partly because that would take too long, and
partly because I'm still learning more all the time), I'll use it as a tool to
outline the structure of an embedded program.
A broad outline of an embedded development project, in Makefile syntax, would
be:
# Source Files (all *.c or *.cpp files)
SRCS  = path/to/my/first/source/file.c
SRCS += path/to/my/second/source/file.c
# ...etc

# Directories containing your header files (all *.h files)
INC_DIRS  = first/library/with/inc
INC_DIRS += second/library/with/inc
# ...etc
INCLUDE = $(addprefix -I,$(INC_DIRS))

# Any compiler options you need to set
CFLAGS  = -Wall
CFLAGS += -std=c++11 # ...etc

# Linker Files (all *.ld files)
LFLAGS = -Tfirstfile.ld -Tsecondfile.ld

# Tell make how to compile your *.c files into *.o files
%.o: %.c
	gcc -c -o $@ $< $(CFLAGS)

# Finally, tell make how to build the whole project
final_binary.elf: $(SRCS)
	gcc $(INCLUDE) $(CFLAGS $(LFLAGS) $^ -o $@
Woah. While that may seem like a lot to take in, I promise that it's actually very simple to understand! To break it down:
-
We declare our source files, indicated by the .c or .cpp file extensions. These hold all the code that makes our awesome application, and it also holds any source files required by the device libraries.
-
We declare the folders that are holding all of our include files, indicated by the .h file extension. Include files let our separate C/C++ files use each others functions by holding function declarations, and you tell the compiler what functions you want by the
#include "somefile.h"directive. It's really important to note (and easy to forget) that your different source files don't automagically know what each other contain. If it isn't declared in the header file and the header file isn't#included in the target file, it won't compile. Theaddprefixfunction at the end does just what you'd expect, since our compiler needs the little-Iflags in front of our include directories to know to look there for our stuff. -
We declare any compiler options, or flags, that are necessary to make the final binary file that will be saved in the microcontroller memory. I'll go into exactly what flags you should use a little later in this post.
-
We declare all of the linker files, indicated by the .ld file extension, that we need to use. Linker files are actually for another program by the people at the Free Software Foundation, appropriately called
ld(now the file extension makes sense).ldis automatically called bygccorg++, the two primary C/C++ compilers, so we don't have to worry about the nitty gritty. Basically though,ldhelps tell the compiler how our program is aligned when it's finally compiled. More on this later.
The last two blocks of this Makefile snippet is where the magic happens.
These are rules, which make will use to compile your program. The syntax of
a rule is:
target: dependencies
	commands to make target from dependencies
The first rule is a special kind of rule in make called a pattern
rule. This rule tells make that if we ever want to make
an object file (i.e. target = %.o) out of a source file (i.e. dependencies = %.c), we should use the commands specified below by the four-space
indentation. But what on earth was that command given in the example above?
%.o: %.c
	gcc -c -o $@ $< $(CFLAGS)
As we've mentioned before, gcc is a compiler; the -c flag specifies that we
want to compile a source file, and the -o flag says that the next argument
will be the name of the output file. And that name is... $@?
Turns out, there's one last little thing about make we need to learn:
automatic variables. You can read the doc page about all the
different automatic variables that make provides you, but we're going to
focus on the two that we just used here:
-
$@represents whatever ourtargetis. In this case,$@ == %.o. -
$<represents the first dependency to the right of the colon. In this case, since only one dependency is listed,$< == %.c.
So, after doing a little translation, we see that the pattern rule is telling
make that for every source file (%.c) that we want to turn into an object
file (%.o), it should call our compiler (gcc), tell it to compile (-c)
our source file ($<) into the output file (-o $@) with some compiler
options that we specify ($(CFLAGS)). Not too bad! You're already on your way
to [groking][grok_article] make.
Finally, we have our last rule, which is where everything comes together.
final_binary.elf: $(SRCS)
	gcc $(INCLUDE) $(CFLAGS) $(LFLAGS) $^ -o $@
We've pretty much covered everything in this rule except for the $^ variable,
which is just another automatic variable. $^ stands for
every file in the dependencies list, as opposed to $<, which only
represents the first. A cheesy way to remember that is to look at the
direction of the arrow! And armed with that last little bit of knowledge, we
can confidently translate this last rule:
Take all our source files ($(SRCS)), and make them into a final output binary
called final_binary.elf. To do that, call our compiler (gcc), tell it where
our include directories are ($(INCLUDE)), specify our compiler options
($(CFLAGS)) and our linker files ($(LFLAGS)), and finally give it all our
source files ($^) and tell it what we want the output to be (-o $@).
And just like that, we've outlined the basic build of a C/C++ project!
Make Make Work for Embedded Programming
Because of some of the unique aspects of programming for a microcontroller, we
need to be a little more explicit with make about some things. This is where
Liviu's blog post really gave me some crucial
guidance; also, this is where we can see how building a Makefile lets us peek
into the mystery of what happens when we hit the "compile and run" button on an
IDE.
Firstly, we need to specify what kind of compiler we'll use. While you may have
gcc or g++ installed on you machine, they are built to compile programs on
your computer architecture. We'll need a special version of gcc, called a
cross-compiler, so that we can compile across architectures to the ARM
architecture. You can download it from this site mirror, or
look for it in a package manager like homebrew (OSX), apt-get (Ubuntu),
pacman (for Arch Linux), or similar for your distro.
Once you've got the cross-compiler toolset installed, the programs will
probably have really long names (arm-none-eabi-g++, for example). That's
going to be a pain to type all over your Makefile, so you can make variables
to hold the path to your tools. I used TOOLS_DIR to hold the path to the
executables directory in the cross-compiler toolset, and then specified
the tools I'd be using:
CC      = $(TOOLS_DIR)/arm-none-eabi-g++
OBJCOPY = $(TOOLS_DIR)/arm-none-eabi-objcopy
GDB     = $(TOOLS_DIR)/arm-none-eabi-gdb
Next, we need to specify the CFLAGS that will help us to compile our program.
Liviu's Makefile was extremely helpful in that it logically grouped the
flags, so we can get a better idea of what's going on. I'm not going to give an
exact description of each flag (you can look up the linked docs for that), but I
will give an overview of each group:
CFLAGS = -ggdbsets debugging options so that the compiler will send information in a format thatgdb, the debugging program we'll be using later, can understand.CFLAGS += -O0tells the compiler to perform no optimizations on the code. This is important for using the debugging programgdb. You can increase this number later on, but only do so with thorough testing and once you are ready to stop usinggdb.CFLAGS += -Wall -Wextra -Warray-boundsall set warning options so that the compiler will yell at you when certain conditions aren't met by your code. Great for catching errors before runtime!CFLAGS += -mlittle-endian -mthumb -mcpu=cortex-m4 -mthumb-interworkall tell the compiler machine-dependent options. This is information about the ARM processor (i.e. little endian, THUMB ISA, cortex-m4 cpu, etc.).CFLAGS += -mfloat-abi=hard -mfpu=fpv4-sp-d16tell the compiler more machine-dependent options, but these specifically relate to the handling of floating point numbers.CFLAGS += -felide-constructors -std=c++0xall specify C++ language options. These are rules about C++ that the compiler will enforce, allowing it to selectively allow or restrict whether some language feature will compile. It isn't obvious at first glance what the-felide-constructorsflag does; however, it allows for a memory optimization during the use of copy constructors in C++ (read docs for more info).
Now that we've gotten the CFLAGS straightened out, we can turn our focus to
making our life easier when we need to configure the project. The first thing
we'll want to do is specify our SRC_DIRS, much in the same way we specified
our INC_DIRS. The benefit to this is that we can then add the following
commands to our Makefile:
vpath %.c $(SRC_DIRS)
vpath %.cpp $(SRC_DIRS)
These commands will tell make to look in these source directories to find any
source file that it can't find in the current directory. Now, when we specify
the SRCS variable, we don't have to type out the full path to every source
file. Instead, we can just list the file name with no path:
SRCS  = main.cpp
SRCS += other_file.cpp
SRCS += other_file_in_other_directory.cpp
Finally, we're going to put all this make knowledge to good use and put
together a few more rules. Now that we have this great Makefile structure,
making new rules is a breeze:
.PHONY: $(PROJ_NAME)
$(PROJ_NAME): $(PROJ_NAME).elf

%.o: %.c
	$(CC) -c -o $@ $< $(CFLAGS)

$(PROJ_NAME).elf: $(SRCS)
	$(CC) $(INCLUDE) $(DEFS) $(CFLAGS) $(LFLAGS) $^ -o $@
	$(OBJCOPY) -O ihex $(PROJ_NAME).elf   $(PROJ_NAME).hex
	$(OBJCOPY) -O binary $(PROJ_NAME).elf $(PROJ_NAME).bin

clean:
	rm -f *.o $(PROJ_NAME).elf $(PROJ_NAME).hex $(PROJ_NAME).bin

flash:
	st-flash write $(PROJ_NAME).bin 0x8000000
Awesome! Now we've got a powerful suite of make rules. Let's see what we can
do now:
-
make: Just callingmakeby itself will trigger the first rule in the file. In this case, it just calls our project name, which depends on the final binary.elffile. How doesmakecreate that file? It looks up a rule for it, and a match is found at rule 3! And thus, our program binary is built using the compiler options and files we specified previously. -
make clean: This will delete all relevant output files from our workspace. Great for making sure you have a clean start when you're rebuilding your project. -
make flash: This will call an external program st-flash to flash a copy of the .elf file with a .bin extension into the microcontroller.0x8000000is a STM32F4-specific address where user code is supposed to be loaded.
Using these tools, we have made a master Makefile that does all the heavy
lifting of getting our sources, include paths, and configurations for ARM
straightened out. Now we can focus on coding! Check out the FreePulse
repository for a real-world example of the Makefile we just
outlined.
Coming Soon...
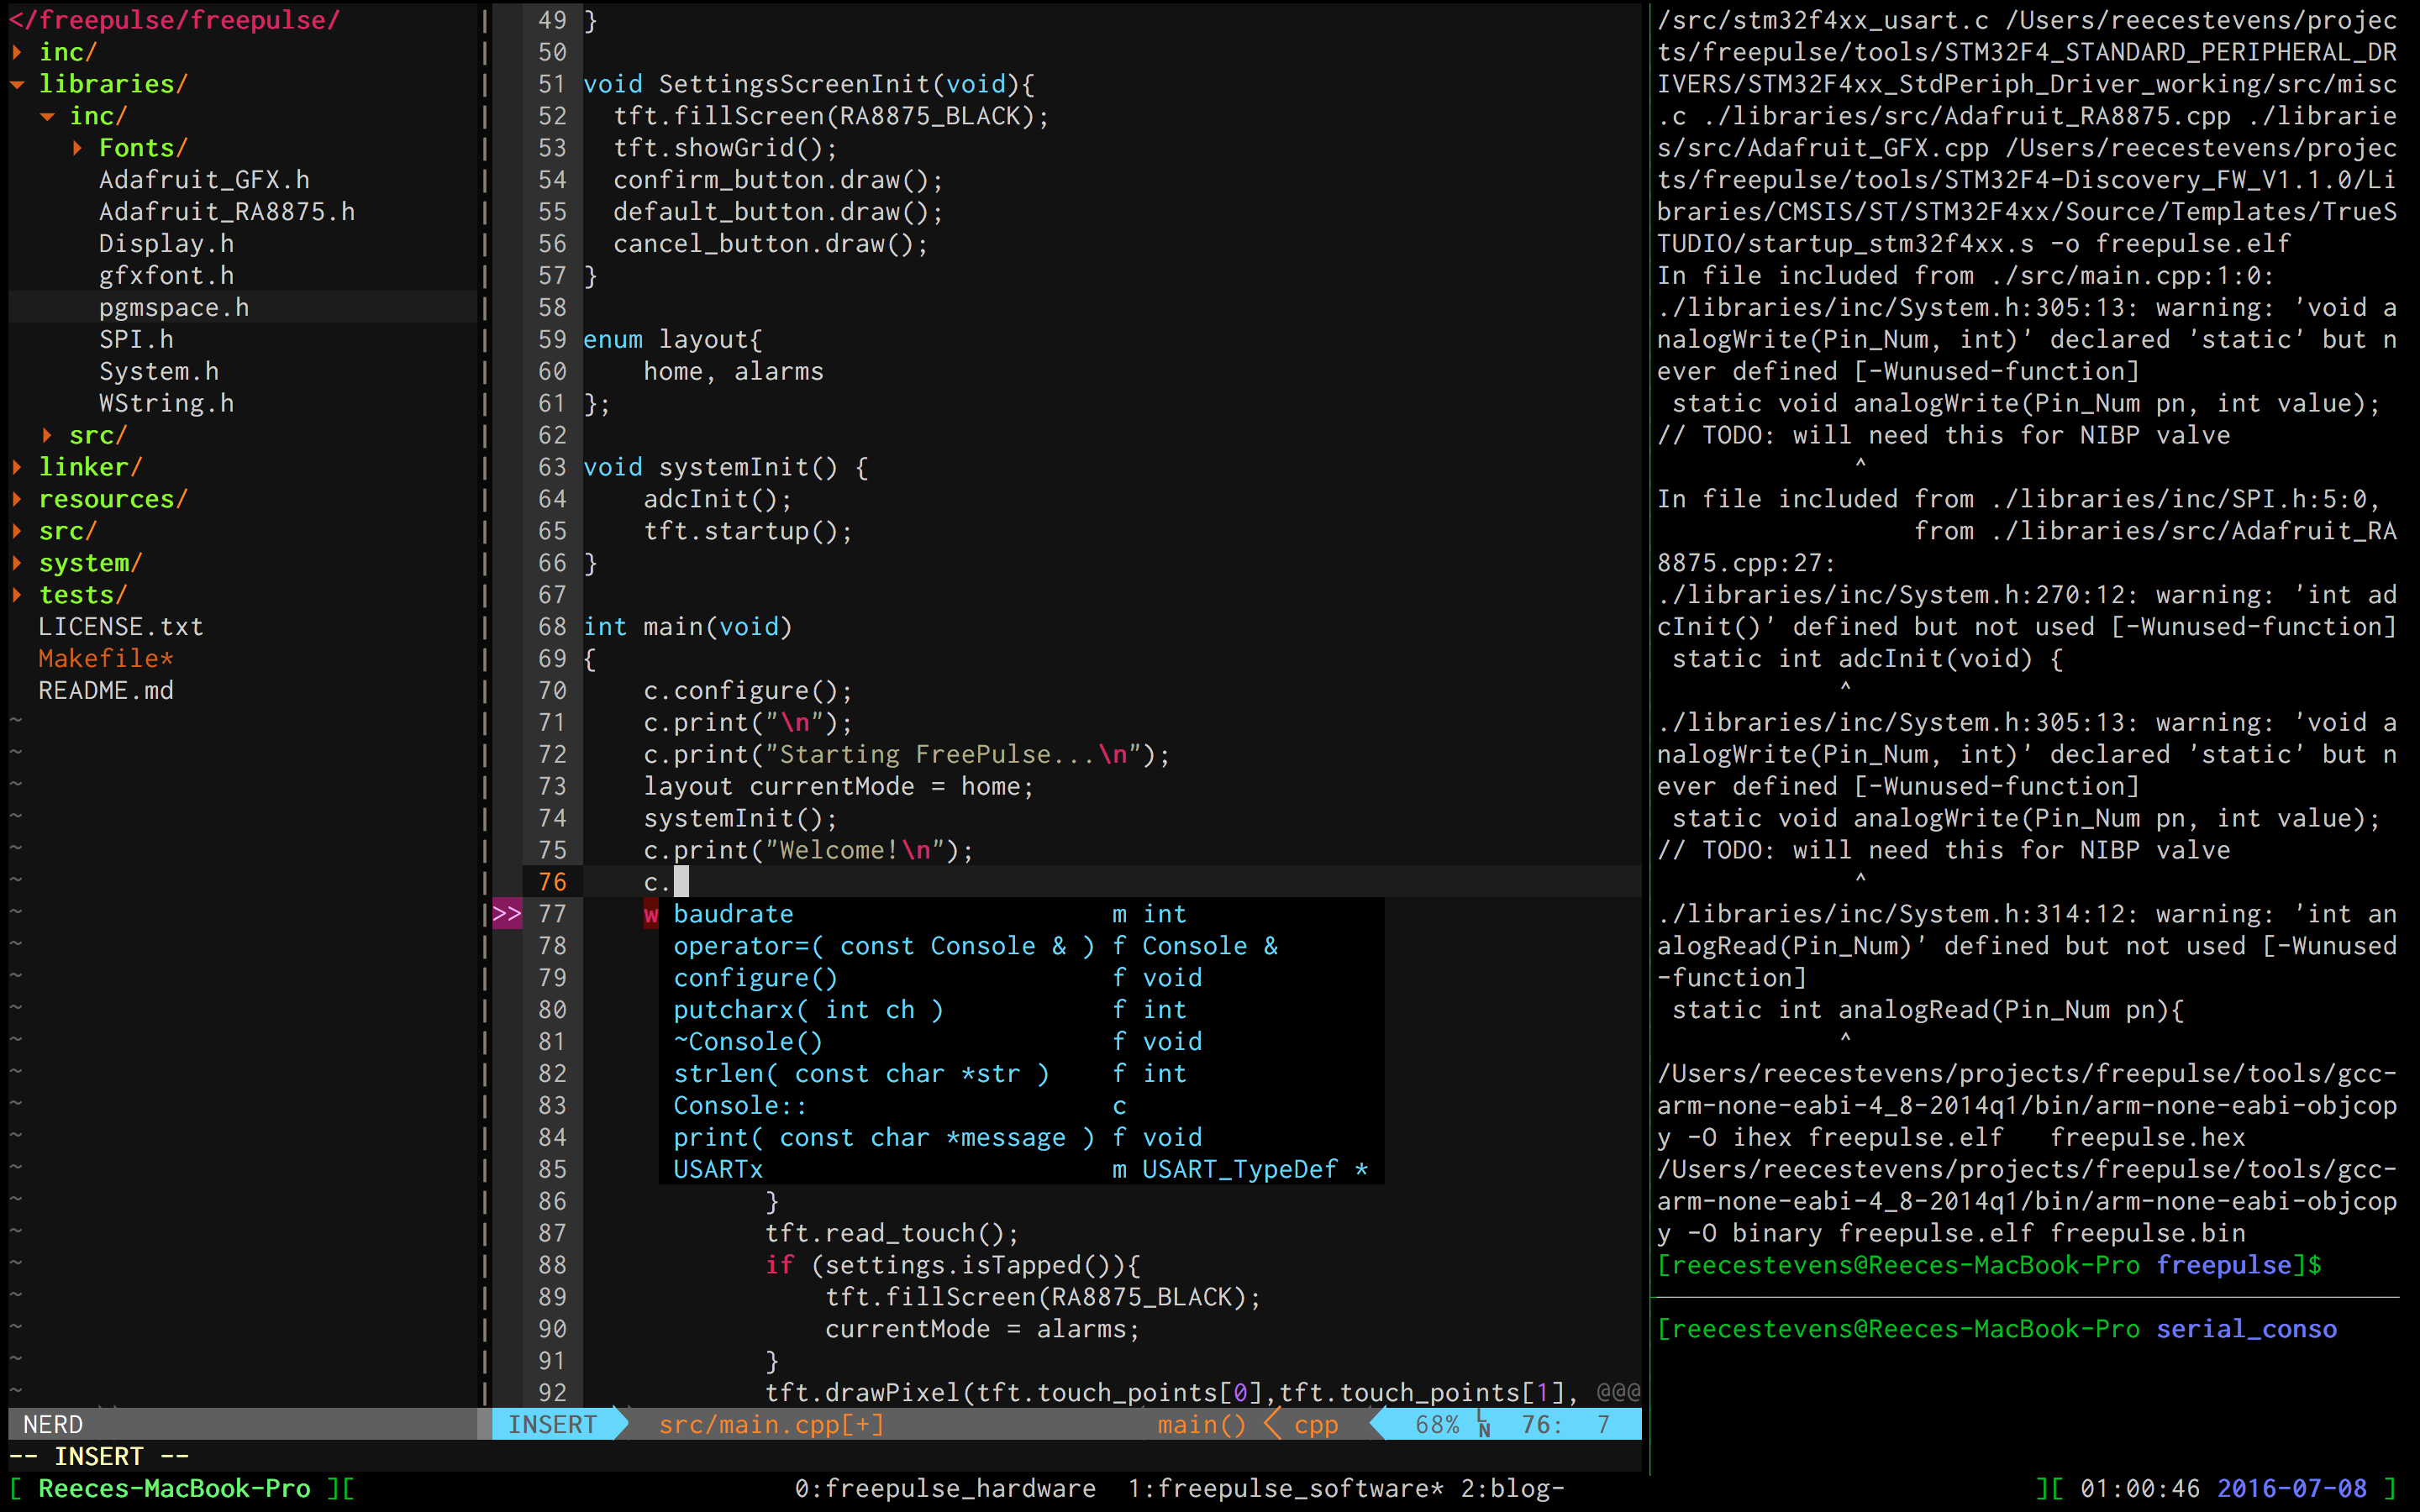
In my next blog post, I'm going to cover how you can use vim and the
youcompleteme autocompletion engine and syntax checker to build a light and
powerful coding workspace. Later in that post, I'll also cover how to build a
simple command line console logger using the USART interface on the STM32F4.
Hopefully these posts will serve as useful references for how to begin an embedded development project independent of an IDE! Feel free to check out the FreePulse repository to see code examples of how this is implemented in a project.